How To Make Your Own Fitness Equipment At Home
How to Make Your Own Fitness Equipment at Home
In recent years, the trend of working out at home has grown exponentially. Whether it’s due to convenience, cost-saving measures, or personal preference, creating a home gym has become a popular choice for many fitness enthusiasts. One of the best ways to make this possible is by learning how to make your own fitness equipment at home. This article will guide you through various DIY fitness equipment ideas, ensuring you have all you need to stay fit without breaking the bank.
Benefits of Making Your Own Fitness Equipment
Creating your own fitness equipment offers several advantages. Not only does it save you money, but it also adds a personal touch to your workout routine. Furthermore, DIY fitness equipment can be customized to fit your specific needs and exercise requirements. Additionally, crafting these items can be a fun and fulfilling project that can even engage your creativity.
Common Types of DIY Fitness Equipment
Before diving into specific projects, let's explore some common types of gym equipment you can easily make at home:
- Medicine Balls
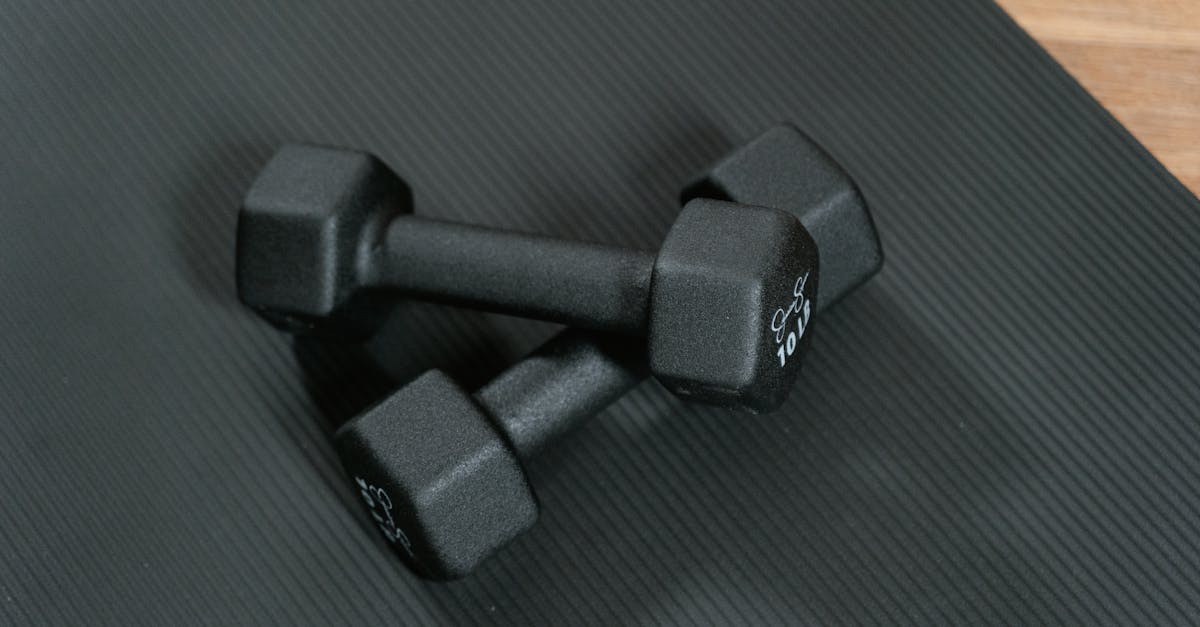
- Dumbbells
- Kettlebells
- Pull-Up Bars
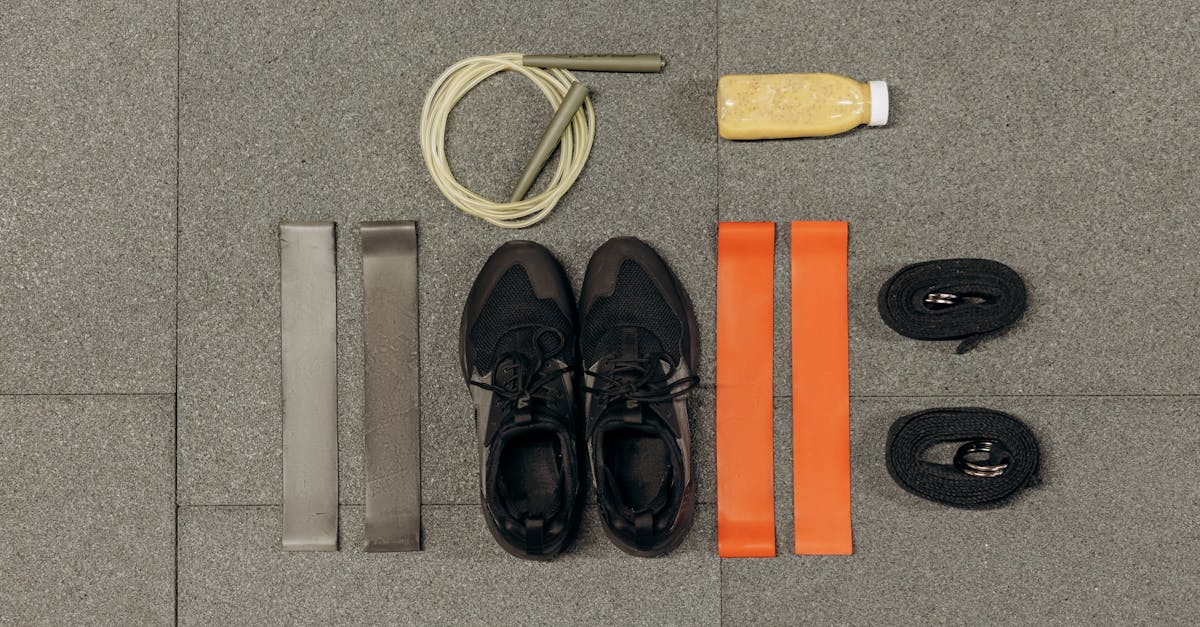
- Resistance Bands
- Weight Benches
- Sandbags
These items are staples in many fitness routines and can be crafted with materials that are likely lying around your house or are cheap to purchase.
Step-by-Step Guide: How to Make Your Own Fitness Equipment at Home
Here’s a detailed guide on how to create some of the most essential fitness equipment from scratch.
DIY Medicine Ball
- Gather Materials: An old basketball or soccer ball, sand, a funnel, tape, and a bicycle tire patch kit.
- Cut a Small Slit: Use a sharp knife to cut a small slit in the ball, just enough to insert the funnel.
- Fill with Sand: Place the funnel in the slit and fill the ball with sand. The amount of sand will depend on your desired weight.
- Seal the Ball: Once filled, seal the slit with the patch kit and wrap it with duct tape to ensure it doesn't open.
DIY Dumbbells
- Materials Needed: Two empty water bottles or milk jugs and sand or water.
- Fill the Bottles: Fill each bottle with sand or water to the desired weight.
- Secure the Lids: Ensure the lids are tightly screwed on to prevent any spills during your workout.
- Wrap for Grip: Wrap the handle area of the bottles with duct tape or cloth to provide better grip.
DIY Kettlebell
- Gather Materials: An old basketball, sand, a PVC pipe for the handle, tape, and a funnel.
- Cut & Fill: Similar to the medicine ball, cut a slit in the ball, insert the funnel, and fill it with sand.
- Add the Handle: Insert the PVC pipe into the slit to act as a handle and seal around the pipe with duct tape.
DIY Pull-Up Bar
- Materials Required: Steel pipe, elbow joints, flanges, and screws.
- Assemble the Bar: Attach the elbow joints to the ends of the steel pipe.
- Mount it: Fix the flanges to your wall or ceiling using screws, ensuring they are securely placed.
- Attach the Bar: Fix the assembled pipe and elbow joints onto the mounted flanges.
DIY Resistance Bands
- Get Elastic Tubing: Purchase elastic tubing or repurpose old bicycle inner tubes.
- Cut to Length: Cut the tubing to your desired length.
- Make Handles: Create handles using strong cloth or buy prefabricated handles to attach to the ends of the tubing.
- Secure the Ends: Tie knots at the ends of the tubing or secure with duct tape to ensure the handles stay in place.
DIY Weight Bench
- Materials Needed: Plywood, foam padding, strong fabric or vinyl, screws, and brackets.
- Cut the Wood: Cut the plywood to your desired bench size.
- Attach the Padding: Place the foam padding on top of the wood and cover with fabric or vinyl. Secure it tightly underneath with a staple gun.
- Build the Frame: Use the screws and brackets to build a sturdy frame to support the bench. Attach the padded plywood to the frame.
DIY Sandbags
- Gather Materials: Heavy-duty trash bags, sand, and duct tape.
- Fill Bags with Sand: Fill the trash bags with sand to your desired weight.
- Double Bagging: Double or triple bag the sand-filled trash bag for extra durability.
- Wrap with Tape: Secure the bags by wrapping them with duct tape completely.
Maintaining Your DIY Fitness Equipment
Maintaining your homemade gym equipment is essential to ensure longevity and safety. Here are some tips:
- Regularly check for any tears or wear, especially in items like sandbags or resistance bands.
- Ensure all connections and seals are tight to prevent leaks or spills.
- Clean and disinfect your equipment regularly to maintain hygiene.
FAQs on How to Make Your Own Fitness Equipment at Home
Q: Is homemade fitness equipment as effective as store-bought?
A: Yes, if made correctly, homemade fitness equipment can be just as effective for your workouts as store-bought items.
Q: How much money can I save by making my own fitness equipment?
A: The amount saved depends on the equipment made, but on average, you can save a significant amount compared to purchasing new items from a store.
Q: Are there any safety concerns with DIY fitness equipment?
A: As with any exercise equipment, there are safety concerns. It's crucial to ensure your DIY equipment is sturdy and well-constructed to avoid any injuries during workouts.
Tags: DIY fitness equipment, homemade gym equipment, DIY workout gear, custom gym equipment, home workout equipment, self-made fitness tools
References: